
his process is simple, straightforward and shouldn’t take more than a few minutes to complete.
First off, I am starting with the idea that you already have a WordPress website and Onpox installed and you are logged in to your accounts.
How to do it
Inside the Dashboard of Onpox you will all the Campaigns that you have created. Now, each campaign has a button on the right side (3 dots). Click that and you will be able to see the “Install Pixel” button.
![]()
Now, you will be able to see the Tracking code under the Install your Pixel section. Select that and copy it!
Now you should go to your WordPress website where you want to install the Onpox pixel code.
Hover the Plugins item from the menu and then click on Add new link.
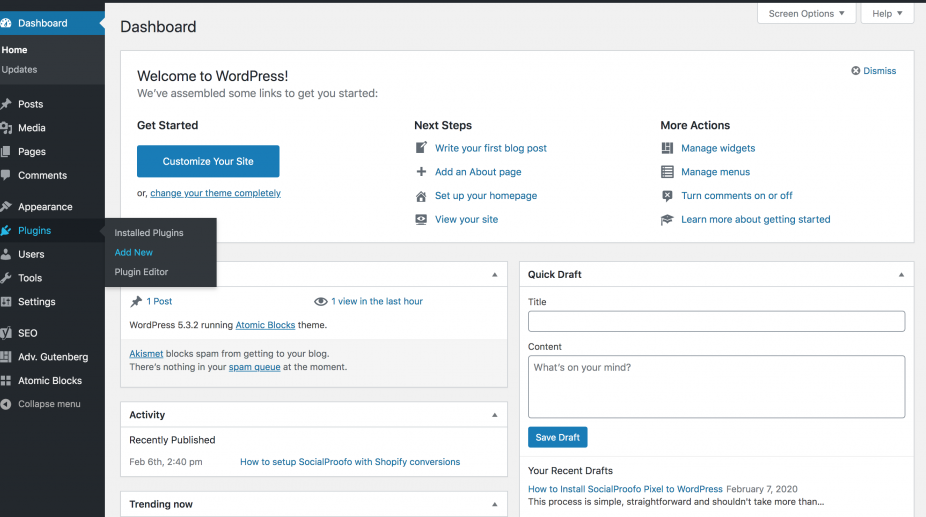
Right now you can search for something like “Insert header footer” plugin in the search bar.
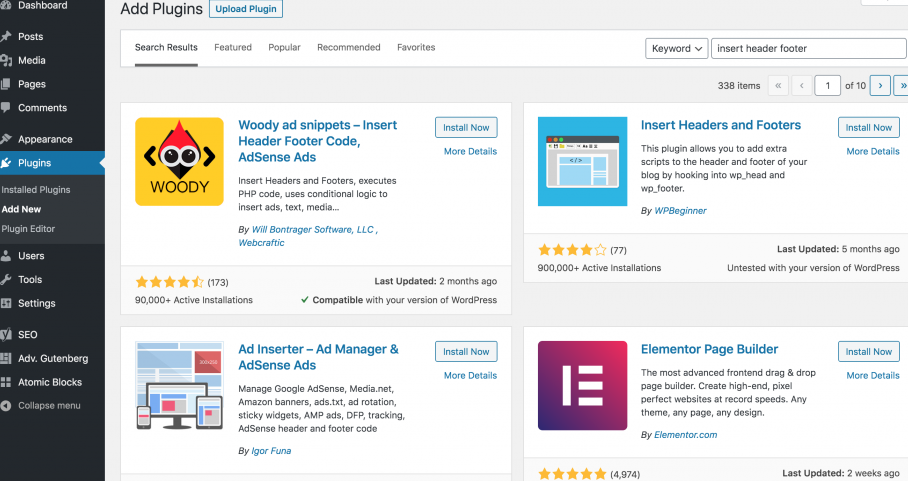
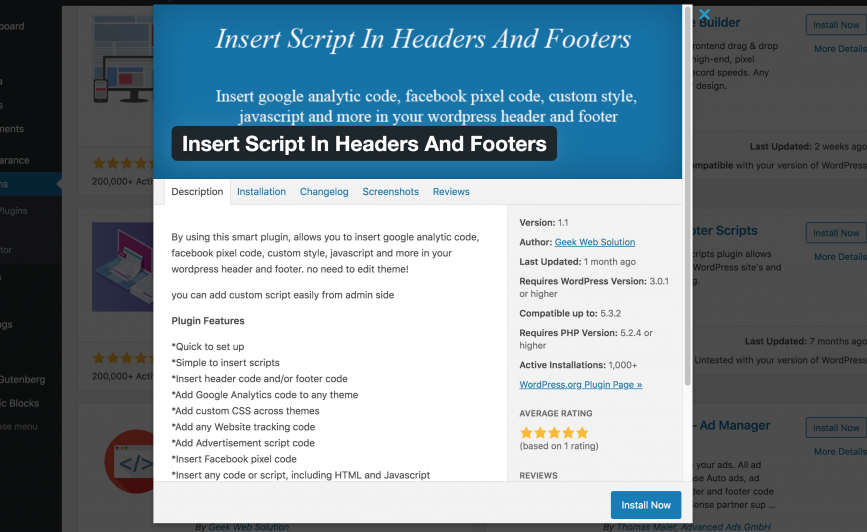
Keep in mind that there are a lot of plugins who can achieve the same result. I am choosing a very simple plugin named “Insert Script In Headers And Footers“.
Click on Install now and make sure to activate it after the installation is completed.
Now that you have the plugin ready, the only thing left to do is to hover your Settings menu item from your wordpress and click on the link where it says the name of the plugin that you just installed.
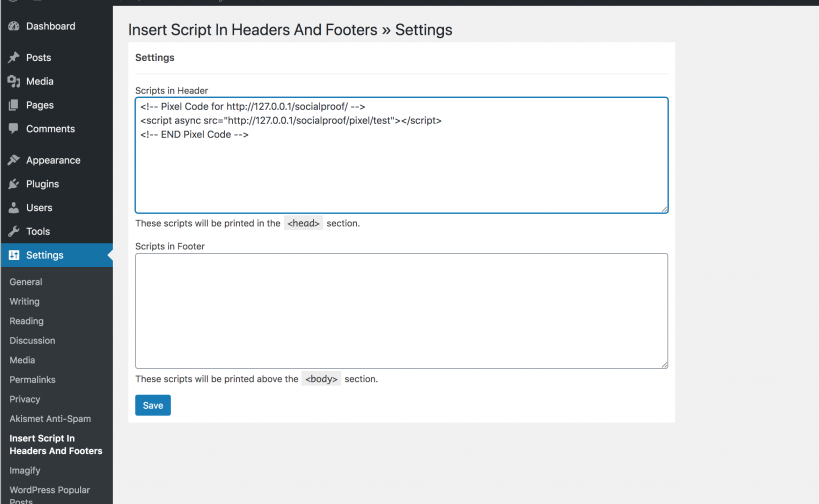
You will see something like this
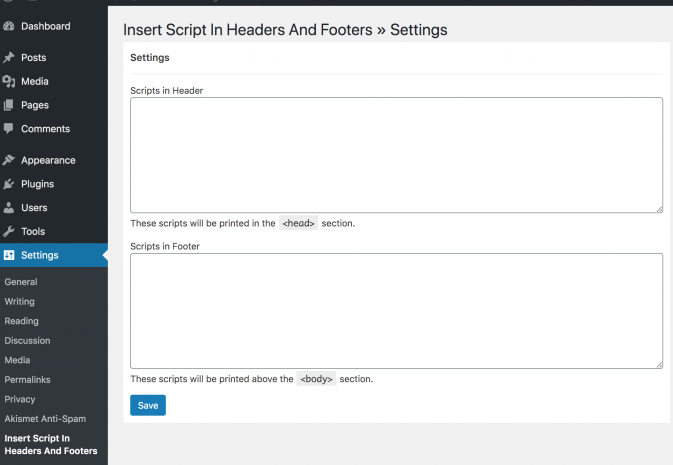
Now all that is left to do is to paste the Pixel code you just copied from Onpox into either of the fields, first or the second field.
After pasting the code and clicking on the Save button, you must go and access your wordpress blog to initiate the first load of the Onpox pixel.
Now, make sure to have your created Campaign enabled and you should be good to go!